Are you finding yourself frustrated with slow performance or frequent crashes when working on large-scale 3ds Max projects? You’re not alone. Complex scenes with massive file sizes can be challenging, but with the right optimization techniques, you can significantly improve your workflow and achieve smoother results. This article will explore how to enhance performance in demanding 3ds Max scenes.
Common Challenges:
Managing scenes that are a gigabyte or larger can be difficult. They often contain millions of polygons, thousands of objects, and numerous high-resolution bitmap textures. This can lead to:
- Slowdowns in the general user interface.
- Lagging viewports.
- Delayed animation previews.
- Extended rendering times.
- Program instability, including crashes and freezes.
Let’s explore some strategies to address these issues:
Working Locally vs. Over a Network
- Avoid retrieving large files directly from a remote server, especially when relying on mapped drives over UNC paths. Transfer and work on 3ds Max files, including X-refs and related bitmap textures, directly from your local hard drive whenever possible. Compressing and archiving Max scenes before transferring them can reduce file sizes and speed up downloads.
- If you must work over a network, use a dedicated server hard drive or a RAID configuration. Try to avoid using NAS (network-attached storage) devices.
- Do not use cloud storage like Dropbox, OneDrive, or similar services as the primary location for your scene assets or for rendering.
- For optimal performance, an SSD drive provides significantly faster read and write times compared to a standard hard drive.
Scene Optimization Techniques
- If Autoback is set to save your files frequently, increase the save interval. The larger the scene file, the longer it takes to save, even on a local hard drive.
- To change this, go to Customize > Preferences > Files and adjust the Autoback interval from 5 minutes to 10, or even 20-30 minutes if your file is extremely large (5 gigabytes or more).
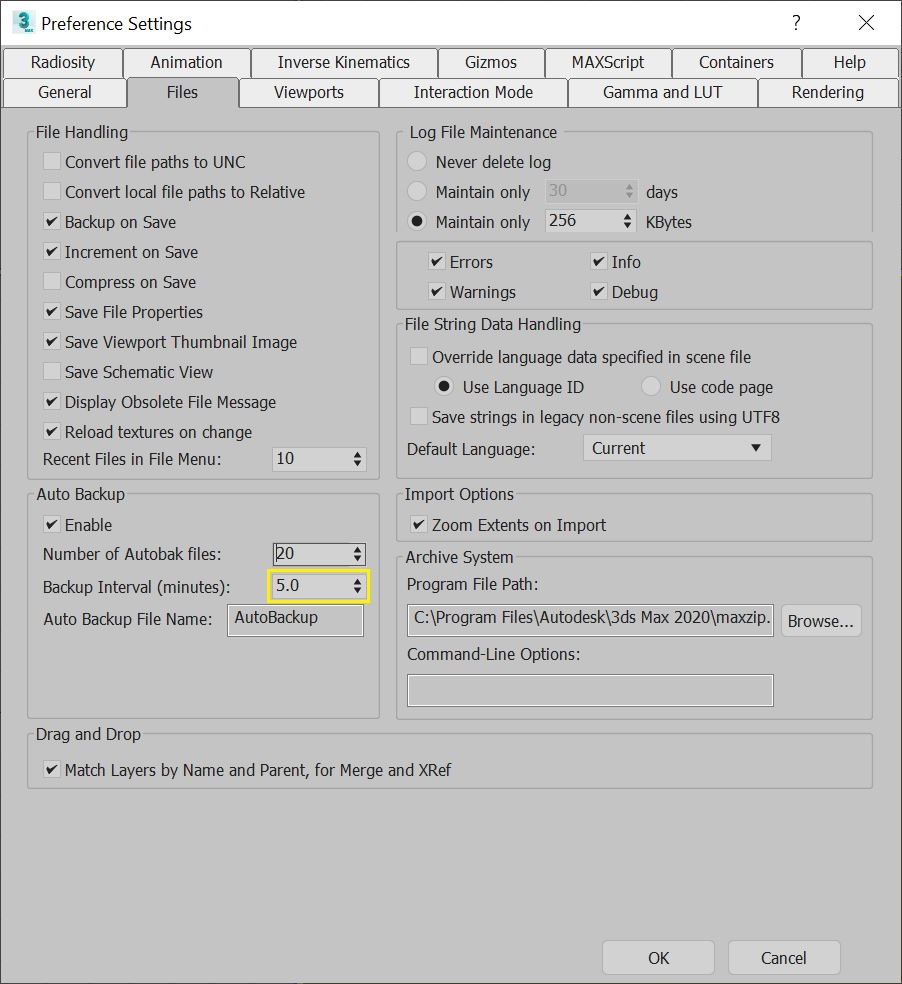
- Pressing the ESC key during the autosave process can cancel a very large scene save.
- Before rendering, save any unnecessary geometry in the scene as a separate 3ds Max file and delete it from your main scene. Save your optimized scene with a new filename and proceed with rendering.
- Use the File > Merge feature to bring back required objects as needed.
- Use Instances where possible. If the scene has multiple identical objects, using Instances helps 3ds Max save memory when displaying these objects in the viewports.
- Limit the number of nested Groups within your scene file. Consider alternative methods for organizing your scene:
- For easy selection and scene organization, use the Layer Manager > Nested Layers feature, which shows layer hierarchies.
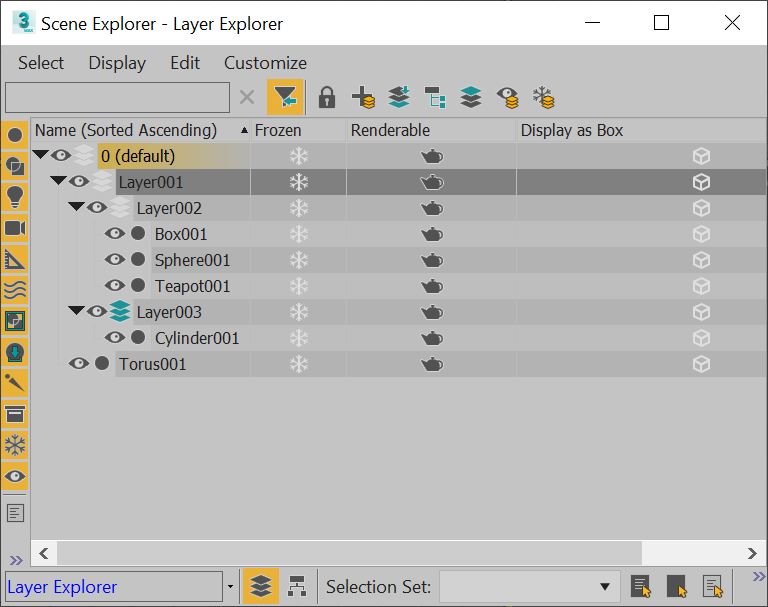
- Use Selection Sets for quick object group selection.
Object Optimization Strategies
- Each modifier applied to an object creates a new reference of that object, making it more demanding on system resources. Consider these strategies to improve performance:
- For final iterations and rendering, select all non-procedurally-animated objects. In the Command Panel, right-click on the Modifier Stack and select Collapse To [Editable Mesh or Editable Poly]. This helps to reduce object complexity.
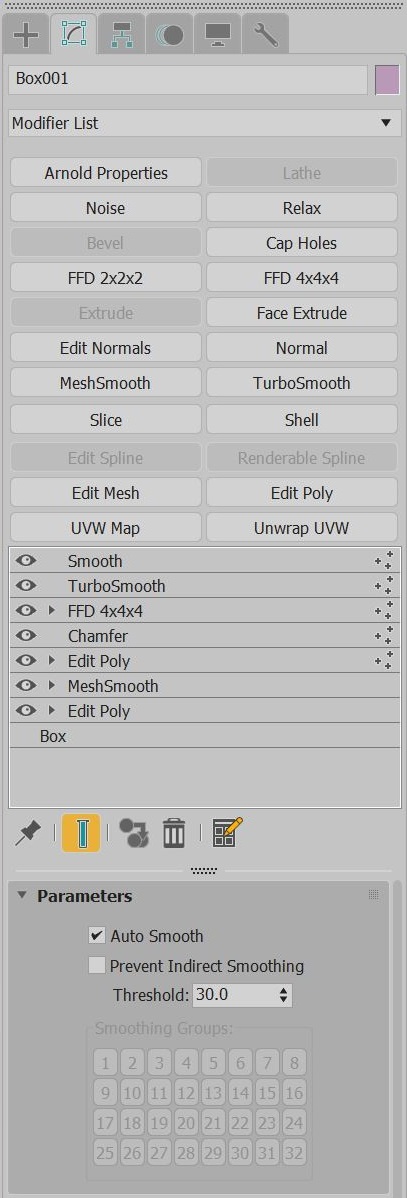
- Another approach is to right-click the object(s) in the viewports and select Convert To. This helps to save on working memory.
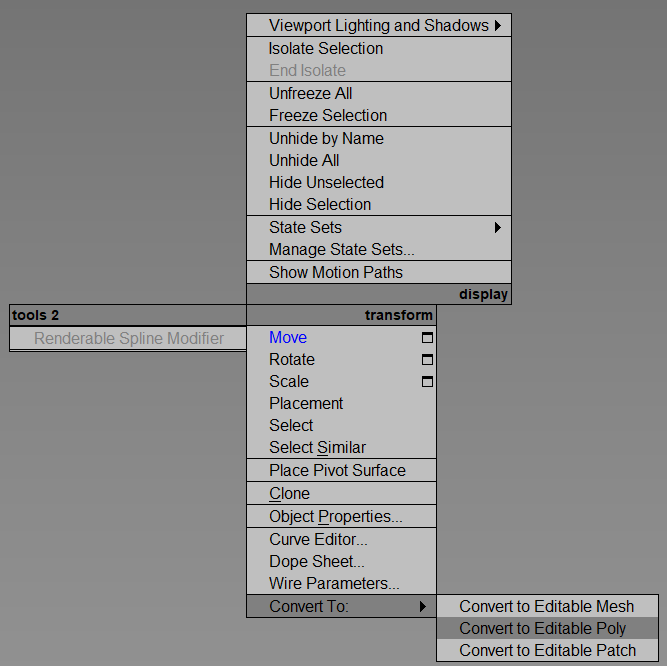
- Note: Saving a scene with collapsed objects will increase the 3ds Max file size but improve the performance when working with the scene.
- If using Renderable Splines, apply an Edit Mesh or Edit Poly modifier to them before rendering and collapse them to Editable Meshes or Editable Polys. These objects will render faster and use up less memory than procedural Renderable Spline objects.
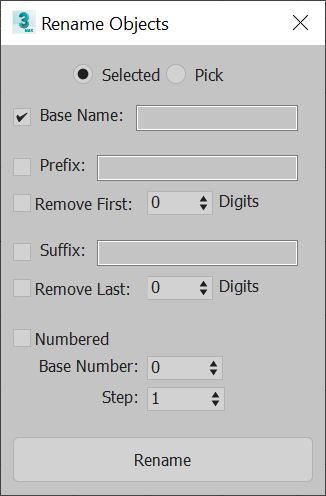
- Employ the Tools > Rename utility to give objects more descriptive names. Scenes with hundreds of objects named “Box01, Box02, Box03, etc.” can be difficult to navigate and work with.
- Optimize the objects in your scene to reduce their complexity. Consider using the Optimize modifier on objects far from the camera to reduce their polygon count.
- Use the Optimize modifier to reduce the polygon count on distant objects when applicable.
Material and Map Optimization
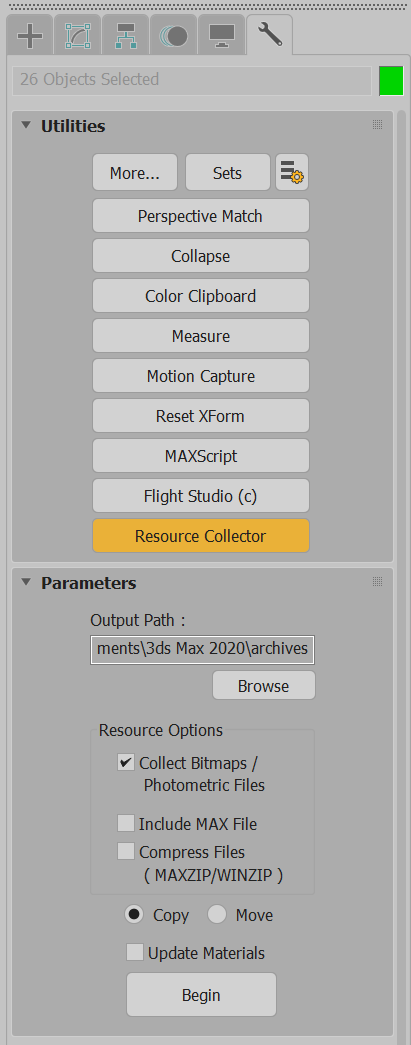
- If possible, use the File > Archive tool or the Command Panel > Utilities > More > Resource Collector feature to bring all scene assets to a single project folder.
- Once the files are moved, use the 3ds Max > File > References > Asset Tracking Toggle menu to re-path all those assets to the folder using UNC paths, not a mapped drive letter, even if the drive letter is shared to all machines on the network.
- Minimize the use of Displacement maps and use higher-resolution geometry or Bump/Normal Bump maps instead. Displacement maps can greatly increase render times.
- Before rendering, Collapse or Attach objects with unique Materials, then save a new version of the scene. (Keep the original non-collapsed objects version as a backup.)
- If you have 1,000 objects in a scene, but only 20 different textures applied to them, you can use the Select Objects by Material button to select the objects using that material and collapse them into one single object. For example, if there are 300 panes of glass in an architectural scene that share a single “Glass 01” material, select all the objects with the Glass 01 material and use the Command Panel > Utility tab > Collapse utility.
- Alternatively, use the Attach Options Dialog to attach identical-material objects together.
- Flatten .PNG texture bitmaps that don’t need transparency into flattened images.
- If a .PNG file shows “Layer 1” in Adobe Photoshop but doesn’t appear to have any transparency, use the Photoshop Layers > Flatten Image option.
- Unless higher color depth is required, use the Photoshop Image > Mode feature to convert .PNG files from 16-bit to 8-bit, then re-save the file. (Use a different filename if desired, then replace the old .PNG texture in the 3ds Max scene with the new one.)
- Reduce the size of textures unless necessary for extreme close-ups.
- If you have large-format textures, load them into an image editor such as Photoshop. Scale them to an even percentage of the original texture size. For instance, 8K textures could be scaled to 4K, 4K textures to 2K, etc.
- Save the scaled-down versions with new filenames and replace the existing textures in the scene with the smaller versions.
- Flatten Adobe Photoshop .PSD files (especially those containing multiple layers) that are being used as texture bitmaps and then save new copies as .JPG or .TIF files.
- Use the File > Reference > Asset Tracking Toggle menu to replace the .PSD files in the scene.
- Note: If you’re using the now-discontinued Nvidia mental ray renderer, avoid using .PSD files, as they use more memory to process.
- Use Adobe Photoshop to load and check .JPG textures being used in the scene.
- Once the file has loaded into Photoshop, use the “Save As” feature to see how Photoshop is interpreting the existing file.
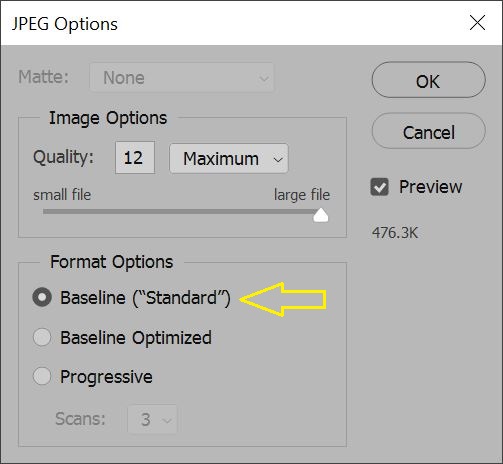
- Save all .JPG bitmaps used as 3ds Max scene textures in Baseline (“Standard”) format, rather than Baseline Optimized or Progressive. These other two formats can cause issues with some renderers like Nvidia’s mental ray.
- The .GIF file format is not recommended for bitmap textures, whether rendering locally or over a network. Using .GIF files as texture bitmaps can cause problems with Backburner, sometimes causing it to freeze on the last frame of a sequence.
- Use an image editor such as Photoshop to load, convert, and resave any .GIF files used as texture bitmaps in 3ds Max scenes as .JPG images instead. Then, reload them in each relevant Material slot and/or use the File > Reference > Asset Tracking Toggle menu to replace them in the scene.
Pre-Render Optimization
- When using Backburner for network rendering, increase the Backburner timeout settings. This can be done in the “Advanced” tab within the Backburner submission window.
- Remove outdated 3rd-Party plug-in references from the scene.
