By Amy Dalton, Ziva VFX Product Manager
The way people interact with new software is entirely personal. Recently an artist named Elliot Summons, who works on design and R&D for a 3D-printed mannequin company, came to Ziva looking for tips on how to use our character creation tool Ziva VFX, as his team was eager to dive deeper into the world of rigging/skinning.
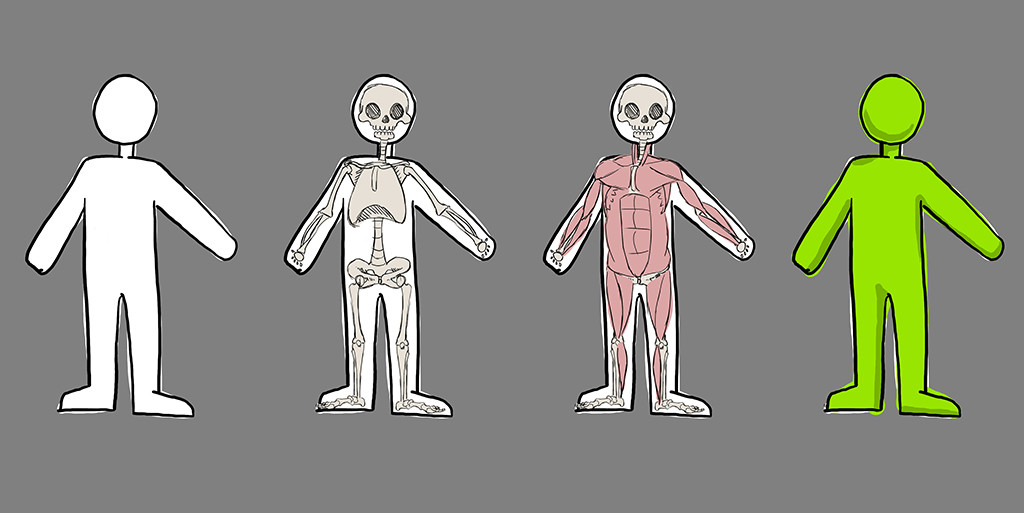
As he explored the tool, Elliot began to draw out the steps to help himself conceptualize them. When he came to us with questions, we realized that other artists could benefit from his insights as well. So we partnered with CGSociety to pair Elliot’s explanatory drawings with our own tips and tricks so that anyone can begin creating characters in Ziva VFX.

Step 1: Skeleton Modeling and Animation
Typically, the Ziva workflow begins with modeling the skeleton geometry of your character. Elliot conceptualized that as going from a standard pose to something tailored to a particular need. So, once you’ve completed the geometry, you can begin to apply animations to it.
The bones with their animations are then exported as an Alembic file, which is imported back into Maya and turned into kinematic Ziva “bone” objects. Ziva bones are inputs to the Ziva solver and drive the character’s motion.

Step 2: Building Muscle Models
Now that you have an animated skeleton, you can build the muscle models in the same fashion. Muscles are designated as Ziva “tissue” objects, and the Ziva solver will simulate the dynamics of all tissue objects based on the input skeleton motion.
If modelling isn’t quite your thing, or you already have an existing Ziva rig, you can use Ziva Anatomy Transfer to automatically fit the skeletons, joints and muscles to a new skin.

Step 3: Attaching Muscles to Bones
Next, we want to “staple” the muscles to the bones using Ziva fixed attachments. The stiffness of the attachment can be tuned to achieve the desired effect. Ziva also provides sliding attachments, which are useful for achieving the effect of tissues sliding along the surfaces of bones or tissues. Both types of attachments are effective but significantly different, so it’s important to consider the effect you are trying to achieve.

Step 4: Simulating Muscle Firing
Once the muscles are defined, the next step is to make them “fire” in a physically realistic way. Ziva’s automatic muscle firing tool can be used to achieve natural muscle excitation without any additional assistance from an animator or any inorganic shot sculpting. Start by creating a “Muscle Fiber” from a Maya object, then tune the orientation of the fiber field lines (if necessary) by painting the ‘start’ and ‘end’ of the muscle objects and use the “Line of Action” tool to automate the excitation. The Line of Action function calculates the distance between two points on an animatable curve to automatically identify when muscle excitations should occur.

Step 5: Defining Fat Layers
Once the muscles are complete, it’s time to move on to the ‘fat,’ defined as the volume between the internal ‘fascia’ (a 2D surface that envelopes the muscles and bones) and the external ‘skin.’

Step 6: Creating the Fascia Layer
To make the fascia layer, simply ‘shrink wrap’ a Ziva Cloth around the muscles using the “rest scale” and “pressure” attributes.
Step 7: Building the Skin/Fat ‘Glove’
A skin/fat ‘glove’ is then made by bridging the open ends of the skin/fat object to the corresponding open ends of yet another copy of the fascia object; this makes a watertight, non-zero-volumed object that the Ziva tet mesh can populate volumetrically.

Step 8: Running Ziva Simulations
Now that we have the complete rig, it’s time to run the Ziva simulations. In a typical Ziva workflow, the muscles are simulated over the Alembic cache of the bones being animated. The muscles are then used as Alembic caches themselves to drive the fat simulation in the subsequent pass. Being able to accurately replicate the relationship between the bones, muscles and fat are what give Ziva characters that added level of realism and plausibility.

Step 9: Simulating the Fat Layers
Last but not least, you can turn the ‘fat’ layers you made in step 7 into a single tissue object and simulate it over the animated muscle and bone geometry that had been Alembic cached from step 8.
And there you have it – a fully simulated Ziva character with high-quality secondary dynamics.